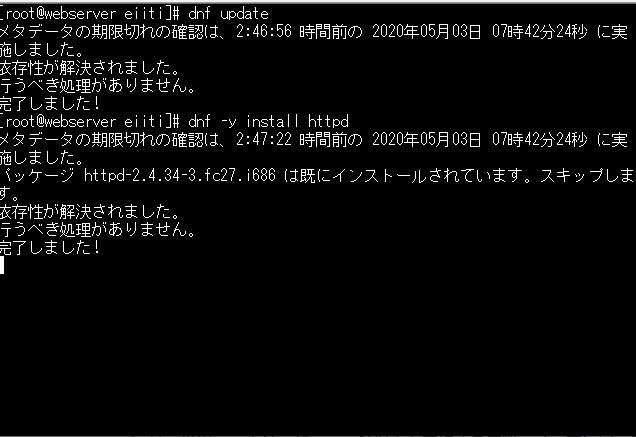
①すでにApacheはインストールされていました。
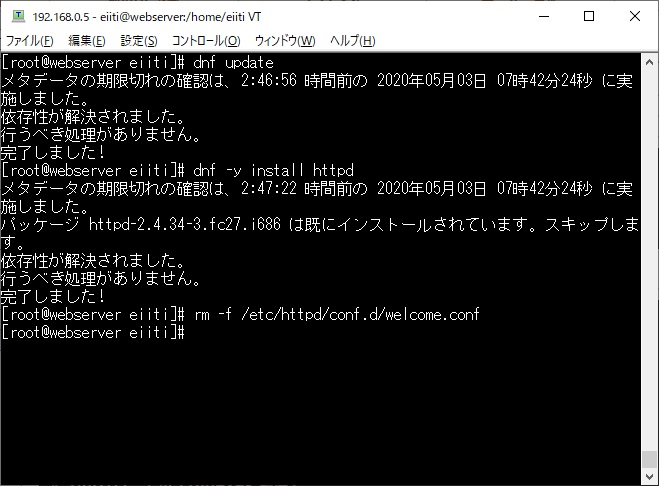
②「rm -f /etc/httpd/conf.d/welcome.conf」と入力。ウエルカムページを削除する。
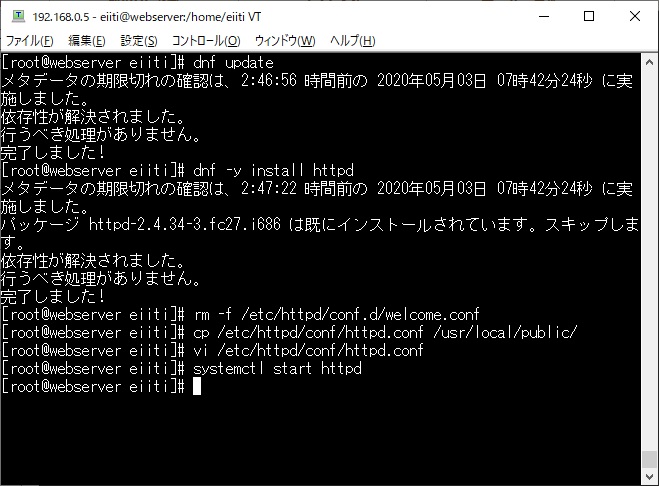
③初期設定をする。/etc/httpd/conf/httpd.confの編集
86行目
#
ServerAdmin root@localhost
↓変更
ServerAdmin root@フルコンピューター名
#
95行目
#
#ServerName www.example.com:80
↓変更
ServerName フルコンピューター名:80

144行目
    #
    Options Indexes FollowSymLinks
↓Indexesを削除。ファイルの一覧表示をしないようにする。
	Options FollowSymLinks
151行目
    #
    AllowOverride None
↓変更 .htaccessで設定できる機能をすべて有効にします。
	AllowOverride All
161行目

    DirectoryIndex index.html

↓追加

    DirectoryIndex index.html index.php


↓最終行に追加
エラー画面に表示されるApacheのバージョン情報等を表示しない
ServerSignature Off
ResponseHeader に含まれるServerの情報を最小限にする
ServerTokens Prod
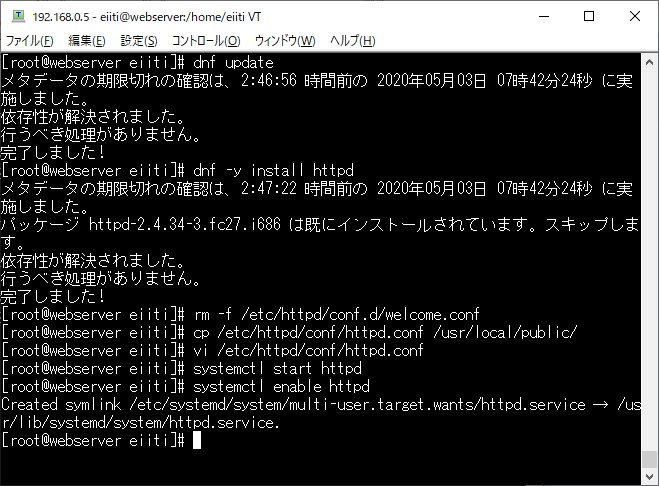
④「systemctl start httpd」と入力。apacheサービスを始める。
⑤「systemctl enable httpd」と入力し。apacheが自動起動するようにする。
⑥「firewall-cmd --permanent --add-service=http --zone=FedoraWorkstation」「firewall-cmd --reload」と入力。ファイャーウォールで許可を与える。

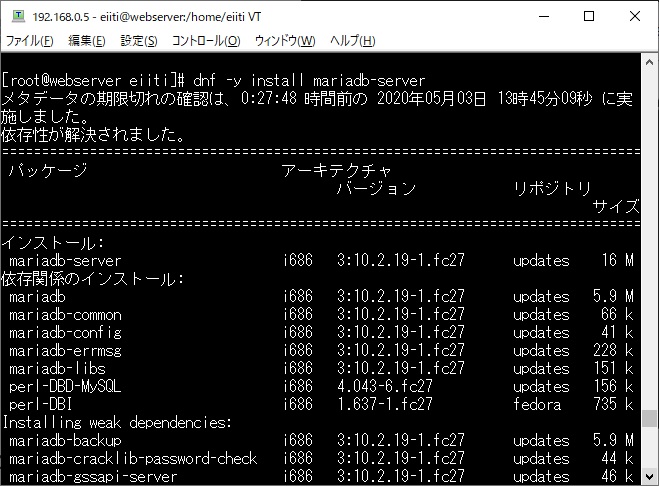
①「dnf -y install mariadb-server」と入力。MariaDBをインストールする。
②/etc/my.cnf.d/mariadb-server.cnf の編集
21行目
[mysqld]
datadir=/var/lib/mysql
socket=/var/lib/mysql/mysql.sock
log-error=/var/log/mariadb/mariadb.log
pid-file=/run/mariadb/mariadb.pid
↓追加
character-set-server=utf8
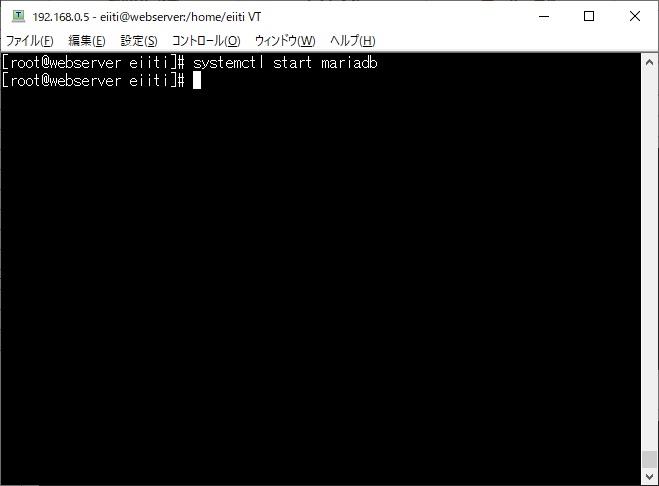
③「systemctl start mariadb」と入力。MariaDBサービス開始。MariaDB
④「systemctl enable mariadb」と入力。MariaDBサービスの自動起動。
⑤「mysql_secure_installation」と入力。MariaDBの初期設定をする。
最初はスペースで入力してください。新しいパスワードの方はあらかじめ用意しておいた方がよい。
In order to log into MariaDB to secure it, we'll need the
current
password for the root user.  If you've just installed Mar
iaDB, and
you haven't set the root password yet, the password will
be blank,
so you should just press enter here.
				最初はスペースキーで入力↓
Enter current password for root (enter for none):
OK, successfully used password, moving on...

Setting the root password ensures that nobody can log into
the MariaDB
root user without the proper authorisation.

You already have a root password set, so you can safely ans
wer 'n'.

Change the root password? [Y/n] y
New password:新しいパスワードを入力
Re-enter new password:再度同じパスワードを入力
Password updated successfully!
Reloading privilege tables..
 ... Success!

中略


Remove anonymous users? [Y/n]y
 ... Success!
以後すべてyと答える。
Normally, root should only be allowed to connec
t from 'localhost'.  This
ensures that someone cannot guess at the root p
assword from the network.
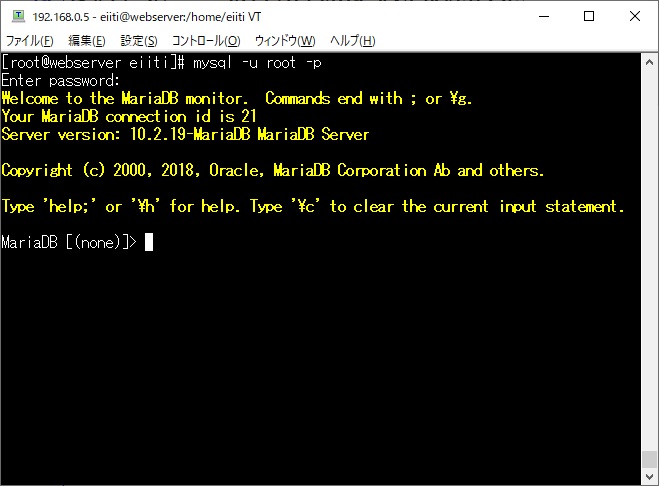
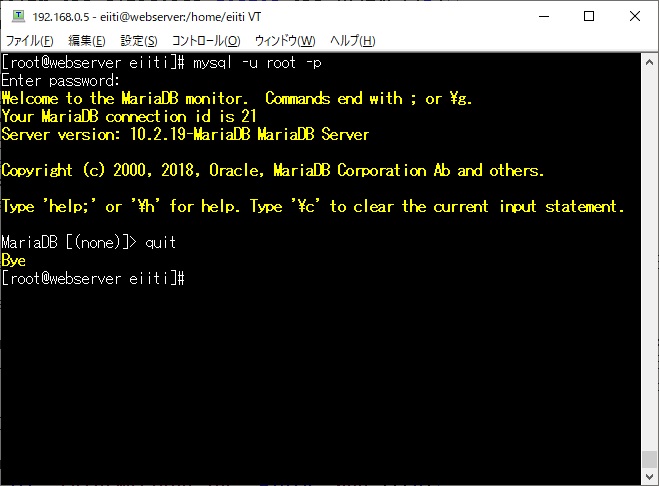
⑥「mysql -u root -p」と入力し、MariaDBにログインする。
⑦「quit」でログアウトする。
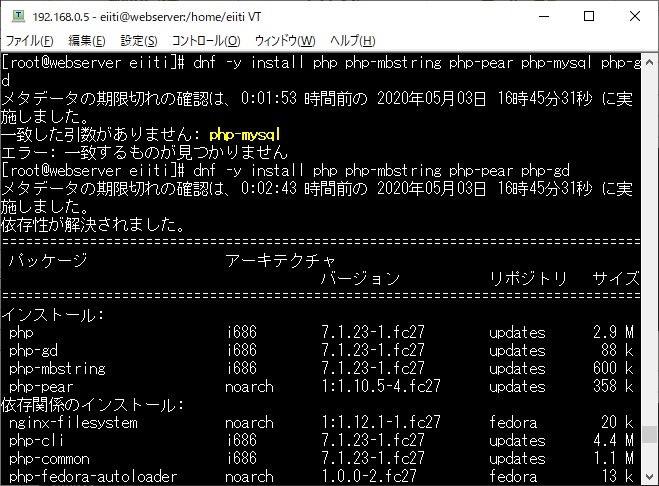
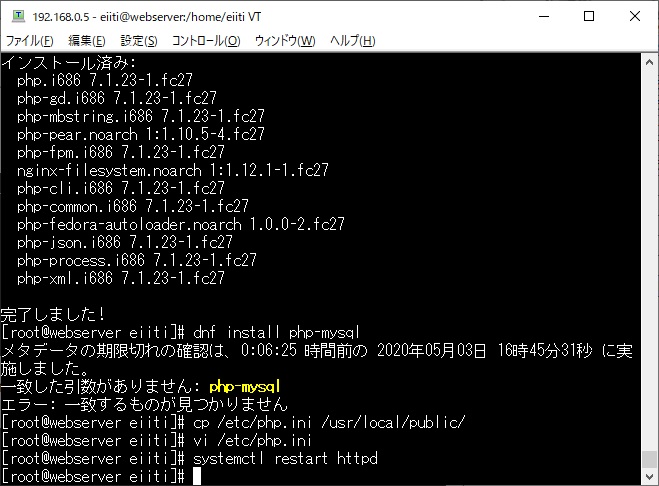
①「dnf -y install php php php-mbstring php-pear php-mysqlnd php-gd」と入力して、phpをインストールする。
②phpの設定。/etc/php.iniの編集
404行目
memory_limit = 128M
↓ 変更
memory_limit = 360M

671行目
post_max_size = 8M
↓ 変更
post_max_size = 300M

824行目

upload_max_filesize = 2M
↓ 変更
upload_max_filesize = 250M

902行目
;date.timezone =
↓ コメントアウトし、書き加える。
date.timezone = "Asia/Tokyo"
③「systemctl restart httpd」と入力。Apacheを再起動させます。
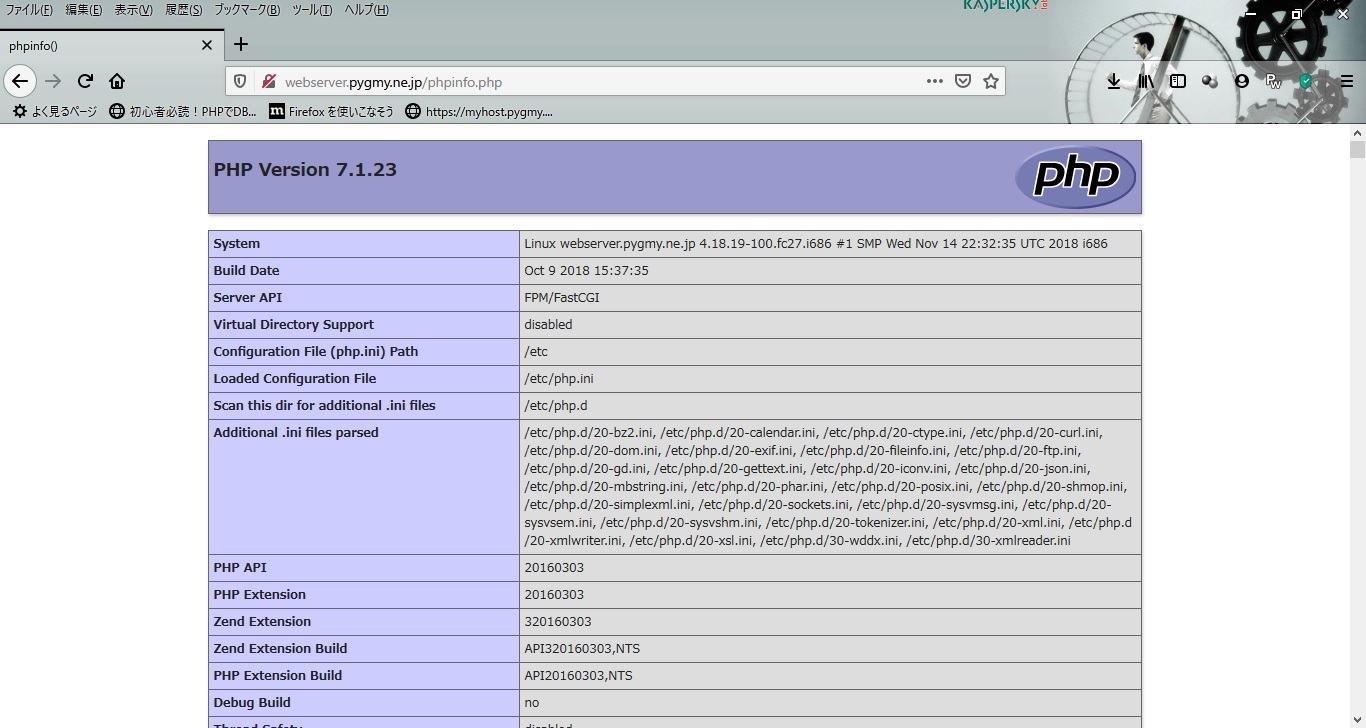
④phpのテスト。/var/www/html/phpinfo.phpの編集
<?php
 phpinfo();
?>
⑤ウェブブラウザのアドレスバーに「サーバーのアドレス/phpinfo.php」と入力します。
下のような画面が出れば合格です。
基本ソフトというのは